Table of Contents
Next page
Previous page

About the CONTROL A1 Control System
This MD deck is compatible with the CONTROL A1 Control System.
The CONTROL A1 Control System was designed to simplify the operation of audio systems composed of separate Sony components. CONTROL A1 connections provide a path for the transmission of control signals which enable automatic operation and control features usually associated with integrated systems.
Currently, CONTROL Al connections between a Sony MD deck, CD player, amplifier (receiver), and cassette deck provide automatic function selection and synchronized recording.
In the future the CONTROL A1 connection will work as a multifunction bus allowing you to control various functions for each component.
Note
The CONTROL A1 Control System is designed to maintain upward compatibility as the Control System is upgraded to handle new functions. In this case, however, older components will not be compatible with the new functions.
Connecting the CDP-CX153 CD player
Although the CDP-CX153 is equipped with a CONTROL A terminal, it can be connected to CONTROL A1 components using a special connecting cord*.
The CDP-CX151 however, cannot be connected to CONTROL A1.
*Use the Sony RK-G139HG (1 meter) monaural mini-
plug <--> stereo mini-plug connecting cord or a similar cord (less than 2 meters long with no resistance).

Be sure to connect the STEREO mini-plug to the CONTROL A component and the MONO mini-plug to the CONTROL A1 component.
|
Connecting the CONTROL Al Control System
- Connect the CONTROL A1 cords in series to the CONTROL A1 jacks on the back of each component. Be sure to connect a CONTROL A1 compatible amplifier (receiver) to take advantage of the automatic function selection feature.

- The components can be connected in any order.
- You can connect up to ten CONTROL A1 compatible components.
- The CONTROL A1 functions will work in the component you want to operate is turned on, even if all of the connected components are not turned on.
- As a rule, the CONTROL A1 remote control system should not incorporate more than one of each type of component (i.e., 1 MD deck, 1 CD player, 1 tape deck and 1 receiver). You may, however, be able to connect more than one of certain CD players. Refer to the operating instruction supplied with the respective component for details.
About the CONTROL A1 cord
- Use a commercially available 2P (mono) mini-plug cord less than 2 meters long, with a maximum outer diameter no greater than 11 mm, and no resistance (like the Sony RK-G69HG). Some CONTROL A1 compatible components are supplied with a CONTROL A1 cord as an accessory.
- If a component has more than one CONTROL A1 jack, you can use either one, or connect a different component to each jack.
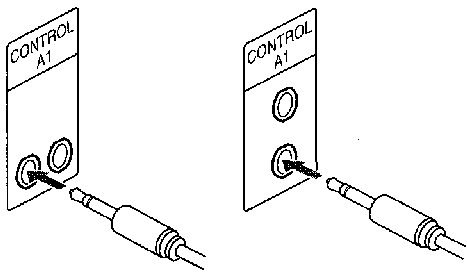

Basic Functions of the CONTROL A1 Control System
Automatic function selection
When you connect CONTROL A1 compatible Sony components using CONTROL A1 cords, the function selector on the amplifier (or receiver) automatically switches to the correct input when you press the play button on one of the connected components.
Notes
- This function only works when the components are connected to the amplifier (or receiver) inputs according to the names on the function buttons. Certain receivers allow you to switch the names of the function buttons. In this case, refer to the operating instructions supplied with the receiver.
- When recording, do not play any components other than the recording source.It will cause the automatic function selection to operate.
Synchronized recording
This function lets you conduct synchronized recording between the MD deck and selected source component.
- Set the source selector on the amplifier (or receiver) to the source component.
- Set the source component to pause mode (make sure both the
 and
and  indicators light together).
- Set the deck to recording pause mode.
- Press
 on the deck.
The source component is released from the pause mode, and recording begins shortly thereafter. When playback ends from the source component, recording stops.
Notes
- Do not set more than one component to the pause mode.
- This MD deck is equipped with a special synchronized recording function that uses the CONTROL A1 Control System (see "Synchro-Recording with a Sony CD Player" on page 17).

Setting the Clock
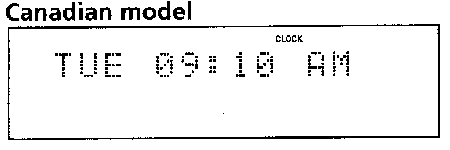
Once you set the MD deck's internal clock, the MD deck will automatically record the date and time of all recordings.When playing a track, you can display the date and time the track was recorded (see page 20). Time on the European model is displayed in a 24-hour clock.
Time on the Canadian model is displayed in a 12-hour clock.
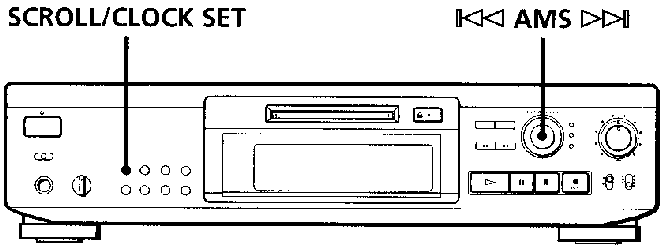
- With the deck in standby (POWER indicator lights up red), press SCROLL/CLOCK SET down for about 2 seconds until the year indication in the display starts flashing.
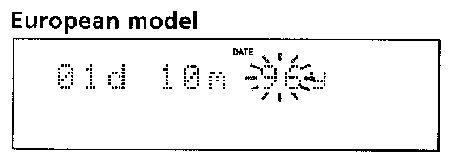
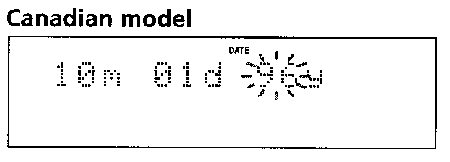
- Turn AMS to enter the current year, then press AMS. The year indication stops flashing, and the month indication starts flashing.
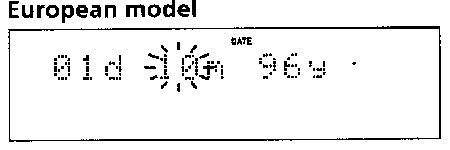
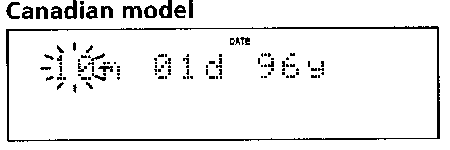
- Repeat Step 2 to enter the month, day, hour, and minute.
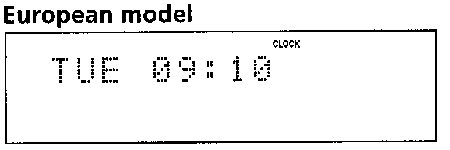
 For precise time and date stamping of recordings
Reset the time at least once a week.
Note
If you disconnect the AC power cord for a long time, the memorized settings will disappear, and "STANDBY" will flash in the display the next time you plug in and turn on the deck. If this happens, reset the clock.
Displaying the current date and time
You can display the time even when the deck is on or in standby.
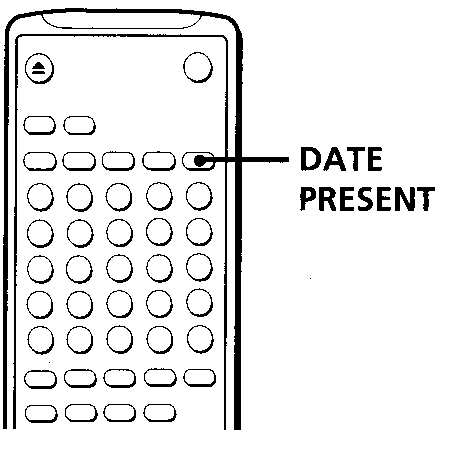
Press DATE PRESENT on the remote.
Each press of the button changes the display as follows:

If you press the button once, the date and the time appear sequentially for about 2 seconds each, then the current display reappears.
In standby, you can press either DATE PRESENT on the remote or SCROLL/CLOCK SET on the front panel to display the time and the date as described above.
Changing the date and/or time
- With the deck in standby (POWER indicator lights up red), press SCROLL/CLOCK SET down for about 2 seconds until the year indication in the display starts flashing.
- Press AMS repeatedly until the item you want to change flashes.
- Turn AMS to change the contents of the selected item.
- To complete the setting, press AMS.

Table of Contents
Next page
Previous page
HTML-ized by Mario Zlatovic


![]() For precise time and date stamping of recordings
For precise time and date stamping of recordings

